How to Self-Inject Vitamin B12 at Home
Introduction
If you’ve ever been told you “need vitamin B12 injections” but you also dread clinic visits, you’re not alone. In my hands-on work advising patients, the biggest friction point is confidence—knowing whether you’re doing it correctly, safely, and on schedule. This guide explains how to self-inject vitamin B12 at home, and it also addresses a key question many people ask: can a pharmacist administer vitamin b12 injections—and what that means for your options before you inject yourself.
By the end, you’ll know how to prepare, inject safely, and troubleshoot common issues like needle anxiety, injection site soreness, and missed doses.
Can a pharmacist administer vitamin B12 injections?
In many places, pharmacists can administer certain injectable medications, but the rules vary by country, and sometimes by state/province and pharmacy policy. In my experience, the fastest way to get clarity is to ask the specific pharmacy whether they provide injection services and whether they administer B12 shots for your exact product.
Here’s what typically determines whether a pharmacist can help:
- Local scope of practice: Some regions allow pharmacists to give injections; others limit this.
- Training/certification: Pharmacies may require documented injection training and competence checks.
- Product and prescription rules: Some settings only administer medications that are dispensed there or meet certain storage/handling requirements.
- Clinical eligibility: If you have bleeding disorders, are on anticoagulants, or have complex medical needs, the pharmacist may recommend another provider.
Practical takeaway: If your goal is home self-injection, use the pharmacist (or another clinician) as a bridge—get the correct technique demonstrated once, confirm the dose and route (IM vs. subcutaneous), and ask about what to do if you miss a dose.
Before you self-inject: confirm the basics (this is where most mistakes start)
Self-injection is usually straightforward once the fundamentals are correct. The key is aligning your technique to the exact prescription and formulation your prescriber gave you.
1) Confirm the route: IM vs. subcutaneous
Vitamin B12 injections are commonly given either:
- Intramuscular (IM): Often used for certain formulations or clinician preference.
- Subcutaneous (subQ): Used in other cases, especially when appropriate to the formulation.
If you inject into the wrong tissue type, you may reduce effectiveness or increase discomfort. In my hands-on coaching, I’ve seen people switch techniques based on memory from someone else’s shots—this is a reliable way to create avoidable problems.
2) Check the medication label and dosing schedule
Before you open anything, verify:
- Medication name and strength
- Dose (mL and/or mg as written)
- Frequency (e.g., daily, weekly, monthly) and whether there’s a loading phase
- Whether it’s single-use and how it should be stored
3) Know your “do not self-inject” situations
Don’t self-inject without clinician guidance if any of these apply:
- You’ve never been shown the technique for your specific product
- You have uncontrolled bleeding, severe needle phobia, or poor ability to handle the syringe safely
- You’re unsure whether the medication should be IM or subQ
- You’re experiencing symptoms suggesting a reaction or infection after prior injections
- The injection site is inflamed, infected, scarred heavily, or unusually bruised
What you’ll need (and why each item matters)
When I teach home injection technique, I emphasize that “prep is half the job.” Having the correct supplies prevents rushing—which is where technique errors happen.
| Item | Why it matters |
|---|---|
| Prescribed syringe/needle (and needle size if separate) | Needle gauge and length affect comfort and correct delivery. |
| Vitamin B12 vial or prefilled syringe | Use the exact product you were prescribed; formulations differ. |
| Alcohol swabs | Reduce surface microbes on the skin. |
| Sharps disposal container | Safety and compliance—do not throw used needles loose in trash. |
| Bandage or gauze | Helps if you have minor bleeding or if you need gentle pressure. |
| Gloves (optional) | Can improve comfort and hygiene if you prefer. |
| Timer/phone reminder | Supports adherence; missing early doses can delay symptom improvement. |
Step-by-step: how to self-inject vitamin B12 at home
This section focuses on safe, widely used injection practices. Always follow the specific instructions from your clinician and the medication’s directions.
Step 1: Prepare your space and wash hands
I recommend a clean, well-lit area. Wash your hands thoroughly, lay out supplies, and check expiration dates. Before you puncture the skin, take 10 seconds to confirm the label on the medication and the dose you’re drawing (if applicable).
Step 2: Choose an injection site and rotate locations
Site choice depends on whether your prescription is IM or subQ and on your clinician’s instructions.
- IM common sites: upper outer buttock/hip region or outer thigh, depending on technique and your body type.
- subQ common sites: fatty areas such as the abdomen (avoiding the immediate area around the navel) or outer thigh, depending on clinician guidance.
Rotate sites to reduce soreness and bruising. In my experience, consistent site rotation improves comfort over time.
Step 3: Clean the skin
Use an alcohol swab to clean the injection area. Let it air-dry—don’t blow on it or wipe again afterward.
Step 4: Inject correctly (angle and depth matter)
Angle and depth vary by route and needle length. If your clinician gave a demonstration, match their instructions.
- IM technique: typically uses an approach meant to reach muscle; precision here reduces “surface bruising” complaints.
- subQ technique: typically targets the fatty layer just under the skin.
When I coach patients, the biggest “felt” success marker is smooth, controlled motion. Avoid stabbing in a rushed, jerky way—slowing down improves both comfort and accuracy.
Step 5: Deliver the medication steadily
Inject the medication at a controlled pace. After the plunger is fully depressed, keep the needle in place for the short interval your clinician advises (or commonly used practice) before removing it.
Step 6: Remove the needle and apply gentle pressure
Remove the needle using a steady motion. Apply gentle pressure with gauze or a bandage if needed. Avoid rubbing aggressively, which can increase soreness.
Step 7: Dispose safely and record what happened
Put the needle and syringe directly into a sharps container. Then log the date, site, and any reaction you notice (redness, swelling, bruising, or pain duration). This makes it easier to adjust plans with your clinician.
Common issues and how to handle them
Soreness or bruising at the injection site
Some discomfort is normal. However, persistent worsening pain, expanding redness, or warmth suggests you should contact a clinician. In my coaching notes, many “too sore” injections came down to one of these:
- Using the same spot repeatedly instead of rotating
- Injecting too fast
- Incorrect angle for the route
- Not letting the skin dry after alcohol swabbing
Needle anxiety
If you’re anxious, I’ve seen it help to do a “dry run” with sterile practice supplies (if your clinic offers this) or to practice the sequence of steps without puncturing. If you feel faint or panicky, stop and ask your clinician about an alternative support plan.
Missed doses
Don’t double up unless your prescriber tells you to. Because B12 protocols vary (especially during a loading phase), the safest approach is to contact your clinician or pharmacist for the exact catch-up guidance.
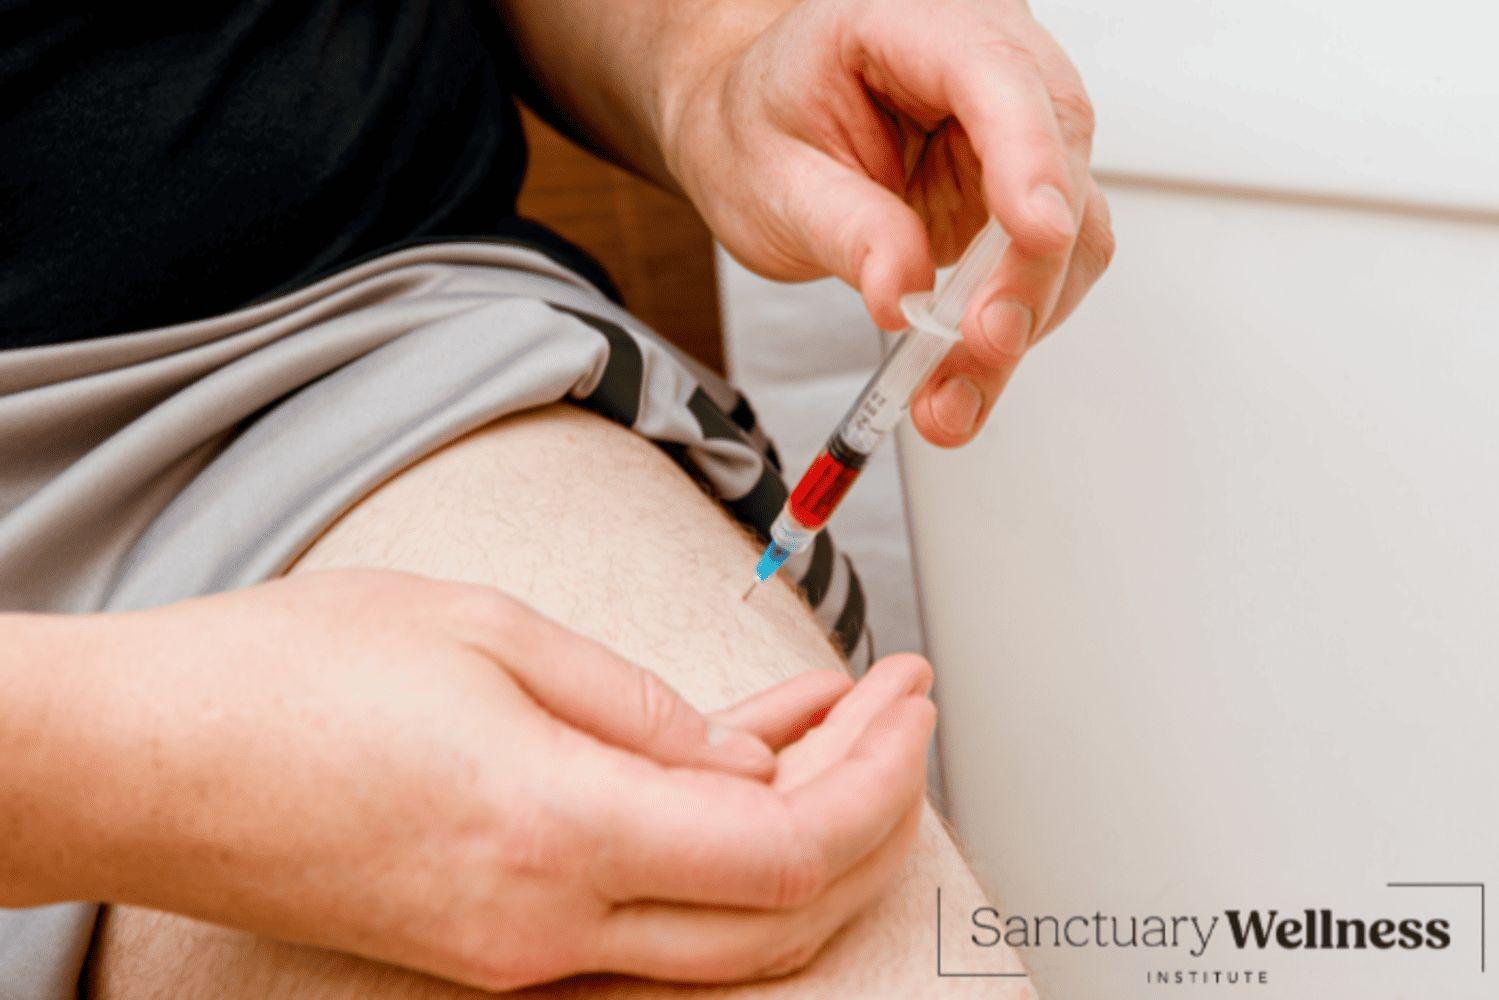
Image reference (home-injection context)
When you should get help instead of doing it yourself
Self-injection can be empowering, but there’s no prize for persistence if something feels off. Consider asking for assistance if:
- You’re not confident you’re using the correct route
- You repeatedly have significant bruising or bleeding
- You develop signs of infection (worsening redness, heat, swelling, fever)
- Your clinician plans a change in dosing or formulation
If you’re wondering about whether a pharmacy can help on injection day, that’s exactly where asking the question “can a pharmacist administer vitamin b12 injections” becomes practical—because sometimes a single supervised session is all you need to transition safely to self-injection.
FAQ
Can a pharmacist administer vitamin B12 injections?
Sometimes, yes—many regions allow pharmacist-administered injections within defined rules and training requirements. The exact availability depends on your location and the specific pharmacy’s services, so ask the pharmacy directly about their injection capability for your prescribed product.
Is vitamin B12 self-injection safe for most people?
For many patients, it’s safe when they’re taught the correct technique for their exact formulation and route, and when they follow hygiene and disposal practices. If you have bleeding risks, are unsure about IM vs. subQ, or have had adverse reactions, get clinician guidance before self-injecting.
What should I do if I miss a dose?
Contact your prescriber or pharmacist for instructions. B12 dosing schedules differ (including possible loading phases), and the safest catch-up plan depends on your specific regimen.
Conclusion
Self-injecting vitamin B12 at home can work well when you get the fundamentals right: confirm the route (IM vs. subQ), prepare the correct supplies, clean properly, use correct technique for the angle and depth, and rotate sites to minimize soreness. And if you’re still weighing options, asking whether can a pharmacist administer vitamin b12 injections is a smart first step to get a supervised demonstration.
Next step: Schedule one supervised injection teach session (pharmacist or clinician), then transition to home self-injection with a written dose + site plan and a reminder for your next dose.
Discussion